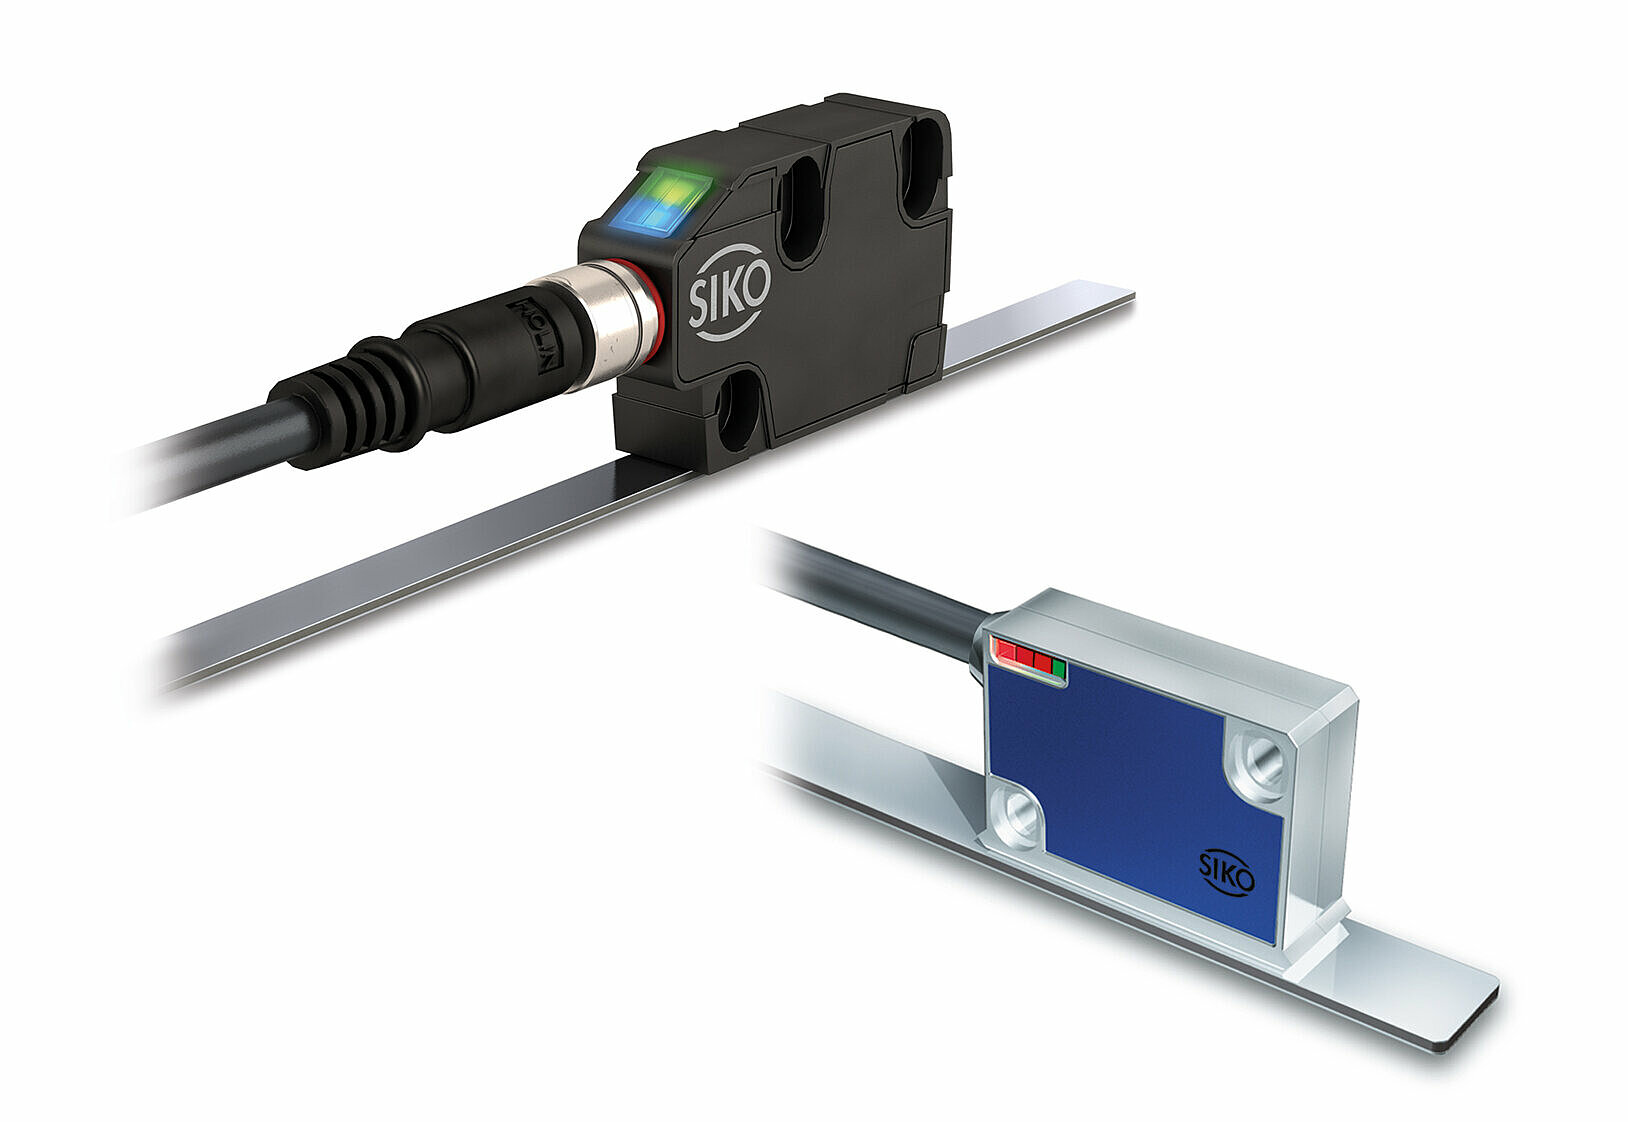
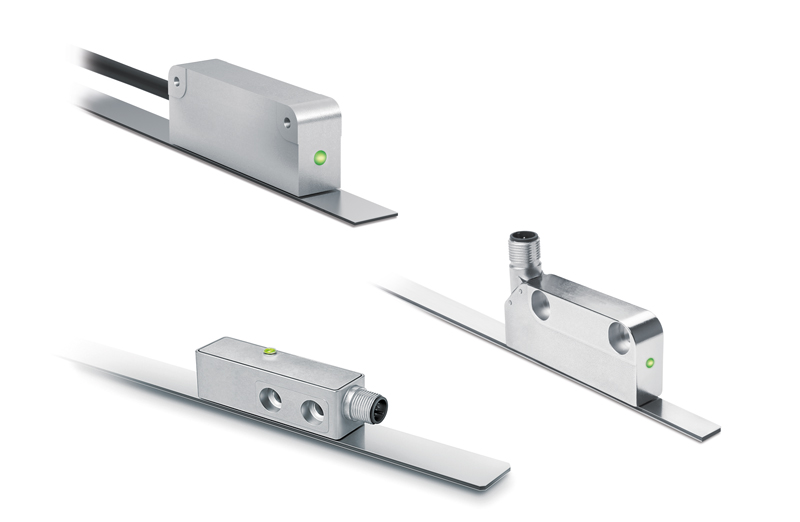
From a scientific point of view, the term measuring system refers to the interaction of measuring equipment (sensors), humans and the environment. In industry, however, the term is commonly used for more complex measuring devices having a plurality of components, some of which are spatially distributed. They serve to detect physical, chemical or geometric variables. For this purpose, measuring systems comprise at least one sensor for detecting the variables and an evaluation unit.
The latter can be a simple mechanical scale with a measuring pointer or a numerical display, or the measured data are transmitted as an electrical signal to an electronic system where they are subsequently evaluated. It is also possible to store the measured data for a later, time-staggered evaluation. Since the measurement is always based on a comparison of the measurement object and the unambiguous reference point in the measurement system, referencing or calibration is required in each case.
Absolute measuring technology is based on the principle of unambiguously coded scales (linear or rotational) which contain a position value that is unambiguous at each position over the entire scale range. Linear measurements with correspondingly coded magnetic tapes are an example of absolute measuring technology. For this purpose, a metal strip is coated with a specially magnetizable plastic and magnetized with an absolute code. Commissioning is carried out by calibrating the system once. A moving encoder moves over the magnetic tape for measurement. Due to the individual characteristics of the magnetic field at any point within the measuring system, the position of the encoder can be assigned to a unique measuring point at any time.
Thanks to the absolute coding of the magnetic tape, no buffer battery is necessary. The current position value is available at any point immediately after the system is switched on. Even a change in position in the voltage-free state has no influence on the correctness of the displayed measured value, since the position is stored at every point in the coded magnetic band. A reference run is not required either if the encoder is too far away from the magnetic tape. For example, this can be the case if it is lifted off the magnetic tape for maintenance, or if a defect is present.
The principle of quasi-absolute measuring technology is based on incremental methods. An additional battery supplies the system with energy even in the de-energized state and the measured values are buffered in an electronic evaluation unit (counter) after the measuring process. They are thus available as quasi absolute values. The specially developed lowest-power technology enables reliable operation up to 10 years.
Again with respect to the example of magnetic measuring technology: when installing battery-buffered systems, users must take care not to exceed the maximum reading distance between encoder and magnetic tape. Otherwise, the measurement information can also be lost in this method and a reference run is required.
The alternative to absolute measuring systems is incremental measuring technology. The system only detects relative changes. It itself does not contain a reference point, but must be referenced each time it is switched on. The advantages of incremental measuring systems lie in their simpler technical design and in their robustness. For example, if you look at a magnetic tape that is magnetized in uniform periods with north and south poles, you have an incremental measuring system with the encoder. Among other things, the pole length determines the max. resolution and accuracy. If the encoder is moved over the band, the path information is generated from the periods and processed as digital square-wave signals (counting pulses) or analog sine and cosine signals.
The counting of the impulses makes it possible to state the distance covered. The reference point can be coded as additional information on the magnetic tape. This is important in the case of an incremental system, because the actual position value is no longer reliably detected after a power interruption or if the encoder position has changed in the meantime.
Measurement systems are used in industry and mechanical engineering. SIKO specializes in the development of special sensor and positioning system solutions. These are used, among other things, in drive technology and robotics, mobile automation as well as in format adjustments in packaging technology and woodworking.


